What to Expect During Your Solar Panel Installation
Discussing the solar panel installation journey can be both exciting and overwhelming. Understanding the process is important for a smooth transition to clean energy. In this blog post, we'll walk you through the step-by-step journey of solar panel installation, from the initial consultation to the moment your system starts generating electricity. We'll cover everything you need to know so you can feel confident in your decision to go solar. Let's dive in!
Step 1: Site Visit and System Design
A solar technician will visit your home to assess your roof's suitability, measure sun exposure, and discuss your energy needs. Based on this information, they will design a solar panel system that meets your requirements.
Optimizing Performance: The site visit allows professionals to assess factors like sunlight exposure, roof pitch, and orientation. With this knowledge, they can design a system that captures the most sunlight throughout the year. This translates to maximum energy production and a better return on your investment.
Identifying Potential Issues: During the visit, experts can identify potential problems that could hinder installation or system performance. For example, they might uncover structural weaknesses in the roof or limitations in your existing electrical panel. Addressing these issues upfront saves time and money down the road.
Customization is Key: Every home is unique in its energy needs and physical layout. The site visit allows the solar company to design a system tailored to your specific requirements. This includes factors like your energy consumption patterns, available roof space, and even local regulations. A well-designed system ensures you get the most out of your solar investment.
Safety First: A proper site assessment helps ensure that all safety protocols are followed during installation and throughout the system's lifespan. This includes considering factors like access for firefighters and ensuring proper grounding for electrical components.
Think of it like building a house. You would only start construction with a blueprint, and a solar panel system is the same. The site visit and design phase lay the foundation for an efficient, safe, cost-effective solar installation.
Step 2: Permitting and Documentation
Permitting and documentation act as a vital second step in solar installation for a couple of key reasons:
Safety and Regulation Compliance: Getting permits ensures your solar panel system meets local building codes, electrical codes, and fire safety regulations. This protects you, your neighbors, and the integrity of the electrical grid. Without proper permits, electrical issues or structural problems could arise later.
Authorization and Approval: The permits are the official go-ahead from your local government and utility company to connect your solar panels to the power grid. With this authorization, you can legally operate your system and enjoy the benefits of solar power-generated energy.
Think of it as laying the groundwork before construction. Permitting ensures everything is planned and approved to meet safety standards and interconnection requirements, paving the way for a smooth and successful solar panel installation.
Step 3: Equipment Ordering
Once permits are approved, your installer will order all the necessary equipment for your solar panel system, including panels, racking, inverter, and wiring. Here's why Equipment Ordering ranks as the third important step:
Ensuring Availability: Solar panels, inverters, mounting systems, and other components have varying lead times. By placing orders early in the process, installers can secure the necessary equipment before any delays or disruptions to the installation schedule.
Price Fluctuations: Like many others, the solar industry experiences price fluctuations based on supply and demand. Early equipment ordering helps mitigate the risk of price increases that could impact project costs.
System Design Specificity: The design phase determines the specific equipment required for your solar energy system. Early ordering ensures you get the exact components needed to match the designed system specifications.
Permitting and Inspections: In many cases, permitting and inspection processes require documentation of the specific equipment. Having equipment ordered demonstrates a commitment to the project and facilitates a smoother permitting process.
By prioritizing equipment ordering as the third step, solar installers can streamline the overall installation process, minimize delays, and ensure they have the necessary components to bring your solar project to life.
Step 4: Installation
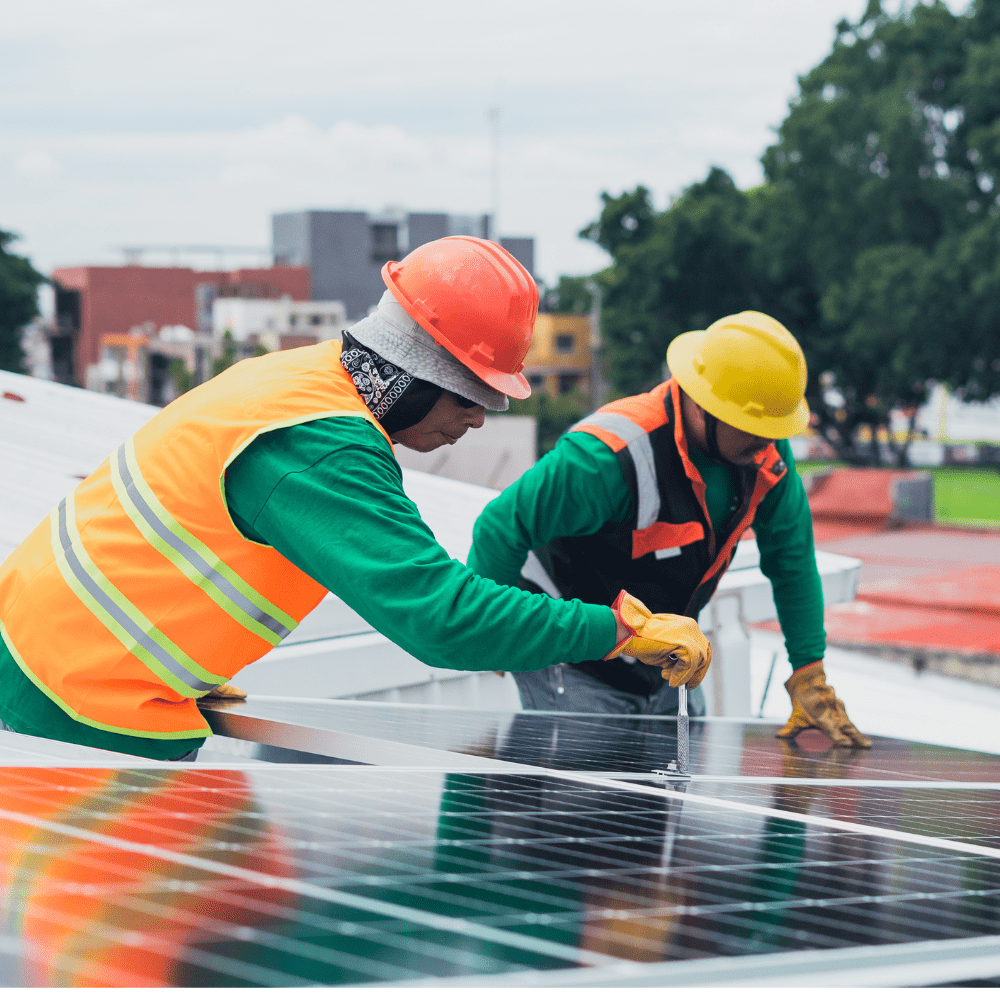
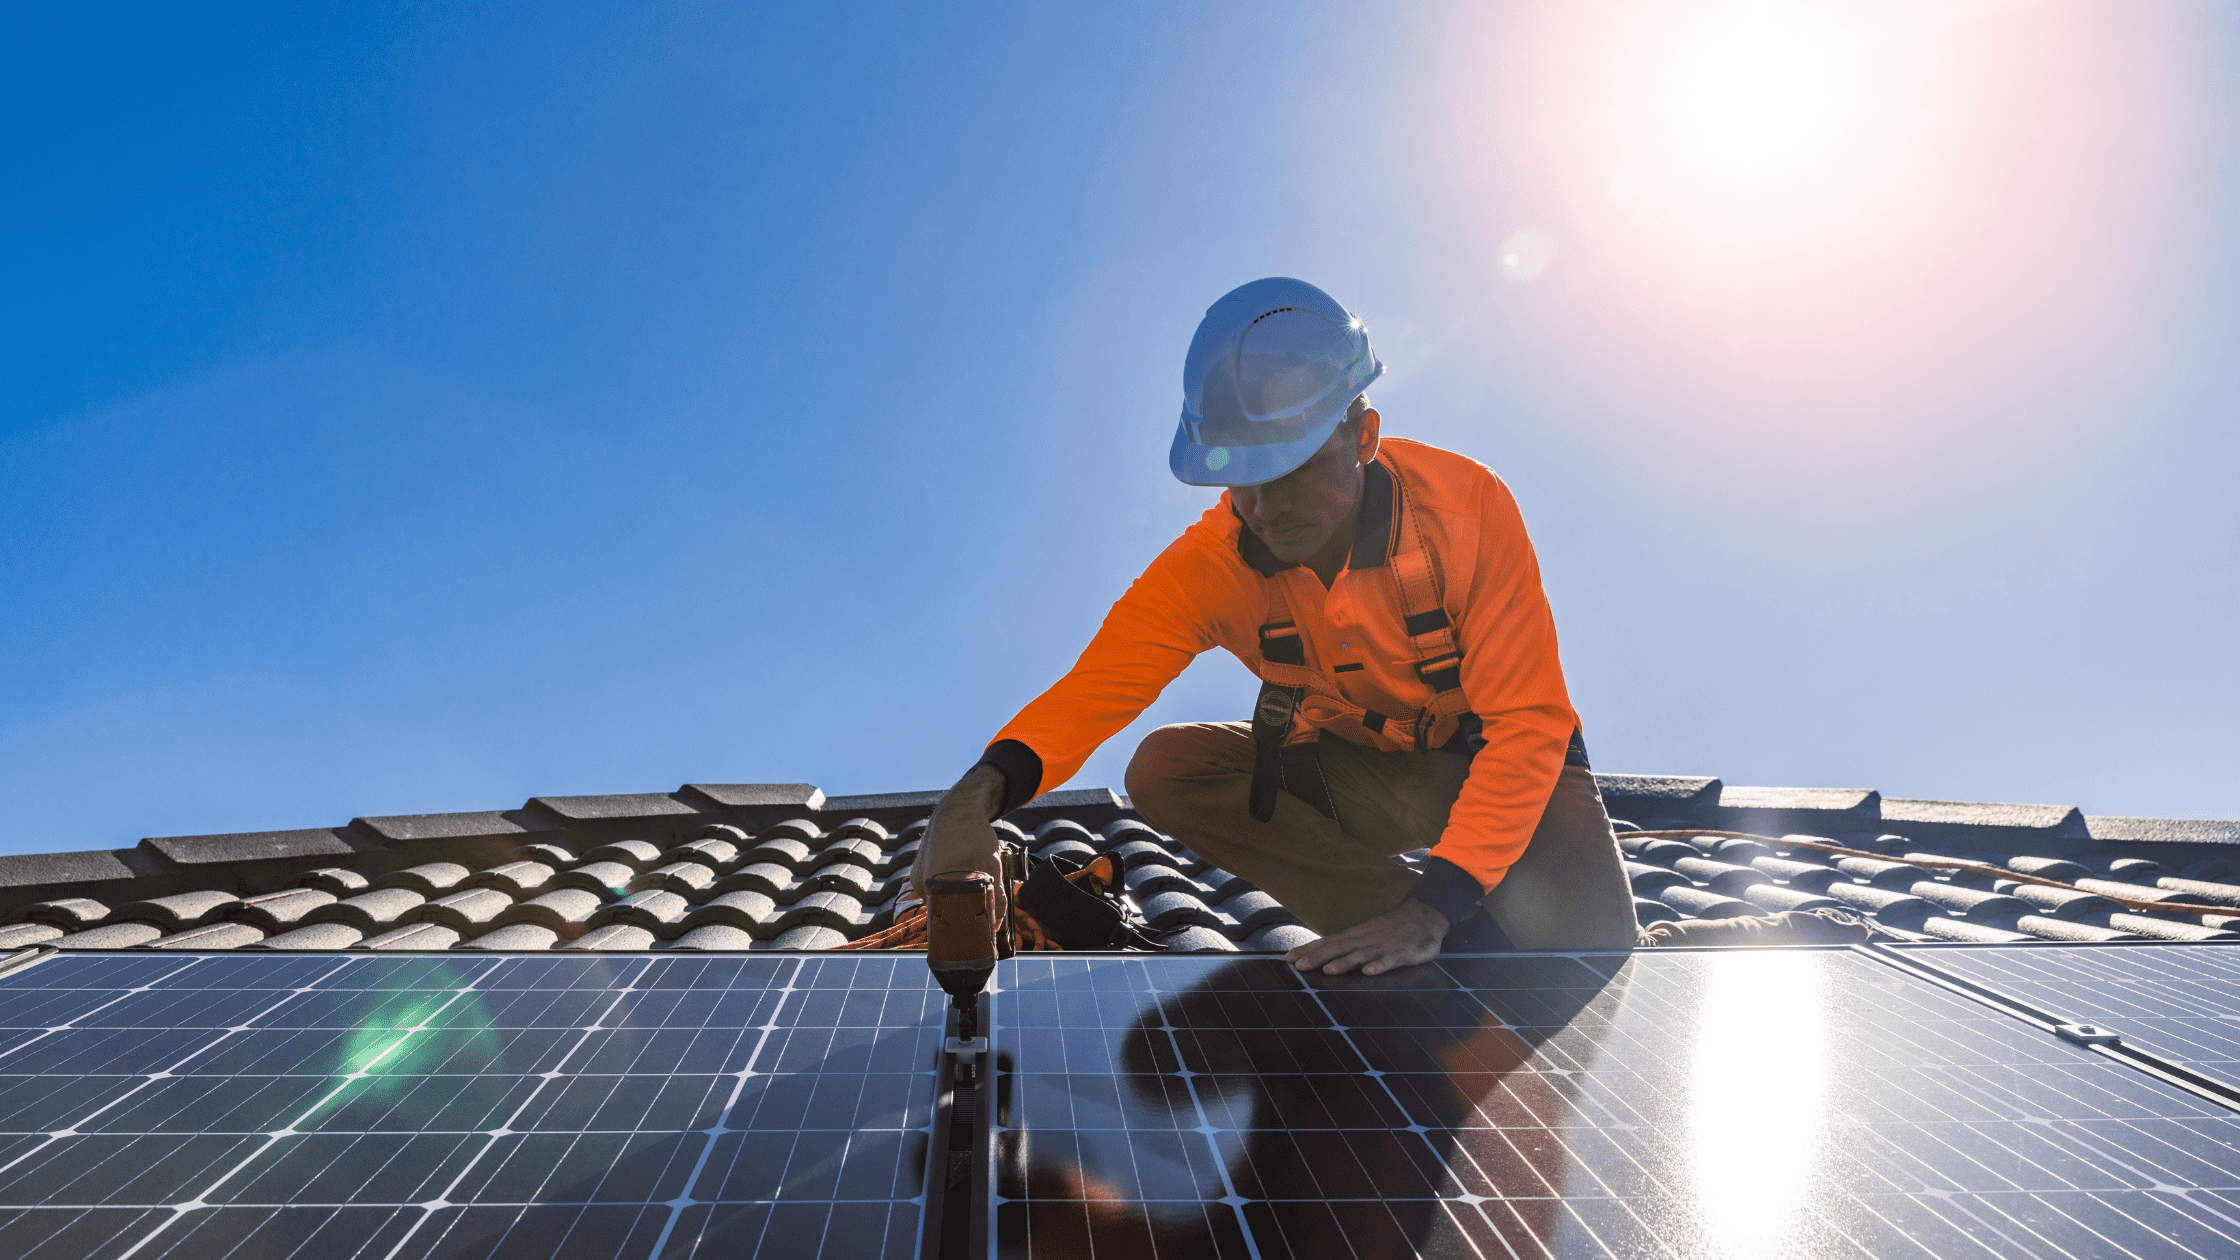
This is the part where the actual installation takes place, usually over one to three days. The crew will likely follow these steps:
Safety Setup: Ensuring a safe work environment is a priority.
Electrical Wiring: Conduits and wires are installed to connect the panels to your home's electrical panel.
Racking Installation: A sturdy metal framework is securely mounted on your roof to hold the solar panels.
Panel Mounting: The solar panels are carefully lifted onto the racking and fixed in place.
Inverter Connection: The inverter converts DC power from the panels to AC power for your home is installed and connected to the system.
You can also read:
- Sun on Your Roof, Savings in Your Pocket: The Power of New Roof and Solar Installation
Step 5: Inspections and Approval
Once the installation is complete, a local inspector will visit your property to verify compliance with codes and ensure safety. Inspections and approvals are the 5th crucial step in solar panel installation for a few key reasons:
Safety
Electrical compliance: Inspectors verify the electrical wiring meets safety codes to prevent fire hazards or malfunctions. They ensure proper grounding, connection points, and overall system safety.
Structural integrity: Inspectors check whether the panels' racking and mounting system can withstand wind, snow, and other weather conditions.
Functionality and Efficiency
System performance: Inspectors may assess if the system is installed correctly to generate the expected amount of electricity. This helps identify any potential issues before you flip the switch.
Permissions and Incentives
Grid interconnection: Your utility company often requires approval to connect your solar system to the power grid. Inspectors ensure your system meets their interconnection standards for safe and efficient operation.
Permits and rebates: Many localities require permits for solar installations. Inspections are often a prerequisite for obtaining these permits and potentially qualifying for government rebates or tax credits.
You can also read:
- Federal and State Solar Incentives in NJ, DE, and PA- Understanding Net Metering for Solar Power Owners in NJ, DE, and PA
Step 6: Utility Connection
The installer will coordinate with your utility company to establish a net metering connection. This allows you to receive credit for excess electricity your system generates.
Safety: Before your solar system gets flipped on, the utility company needs to ensure it meets safety standards to prevent issues on the grid. Their approval verifies your system won't malfunction and feed electricity back into the grid in a way that could harm utility workers.
Grid Integration: Connecting your solar panels to the grid allows the excess energy you generate daily to flow back to the utility company. This credits your account and helps offset the power you use at night or on cloudy days.
Permission to Operate: The utility interconnection process permits you to operate your solar system legally. It involves signing an agreement with your utility provider that outlines their requirements and your rights as a solar power producer.
Without a utility connection, your solar system would be an island, generating power you couldn't use effectively. The interconnection process ensures everything is set up safely and according to regulations for both you and the utility company.
Step 7: System Activation
After final approvals, your solar panel system is switched on, and you can start tracking your energy production!
While we've covered the essential steps, every installation is unique. If you're considering solar panel installation, consult with a qualified solar installer near you to assess your specific needs and potential savings. Let the sun work for you!


